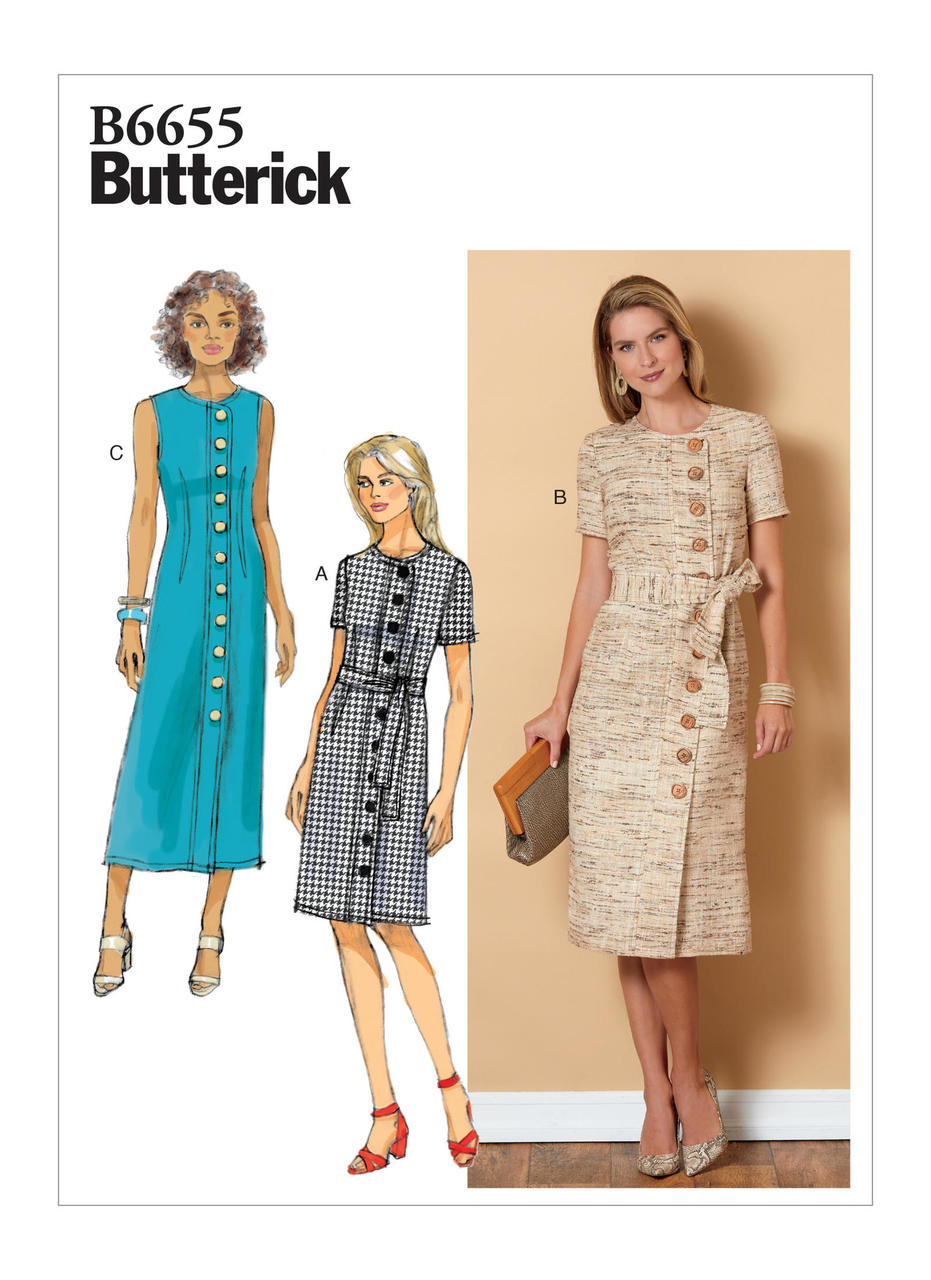
How to Make Custom Buttons: Butterick #B6655
- elinestelle
- May 30, 2020
- 4 min read
Back in June 2019 I had seen a Carolina Herrera chambray dress that made me fall in love:
What I loved was the simplicity of the dress; as a chambray or light denim and then a fit and flare silhouette. But I especially loved the details, the multi-colored buttons and the two different colors of topstitching. I knew I had to make it!
So I was able to find a similar pattern from Butterick B6655. The fabric I used is a chambray purchased from JoAnn Fabrics; I actually used the reverse side of the fabric because it was a lighter color and closer to the original. I also made a few modifications to the pattern; I added more fullness to the skirt by slashing and spreading, shown here:
First I traced the original dress pattern onto my tracing paper. Then I drew a straight line at the natural waist to determine where the skirt ended. Then I was able to draw straight vertical lines 2" apart from the waistline down to the hem. These lines were then cut and spread apart 1" each; I attached another piece of tracing paper behind it and taped it down.
The final result was a much more similar silhouette to the original dress.
Another detail I made was to use a pink and yellow topstitching thread using a twin needle attachment for my home sewing machine. At the time though I was using my older Janome machine which only had 1 thread holder. So I had to be clever and place my second spool of thread on a chopstick stuck inside of a cup behind my machine. You gotta do what you gotta do, right?
Using the two spools of thread, I thread them through my machine together, but then I thread them through the twin needles separately. I kept my bobbin thread just the same and used the pink color.

The result looked like this:
I was very happy with how it turned out. The lines were much more even and looked a lot more professional with a twin needle. I purchased mine from City Sewing in the New York City Garment District.
Now this pattern has a faux front overlay; the dress doesn't open at the front. Instead, it has an invisible zipper in the center back seam. This was something that I initially overlooked. But I adapted by adding the topstitching to the center back seam as well by using my single needle and sewing on either side of the seam.
Figuring out the pattern modifications and how to sew with a double needle proved to be the easy part. The hard part was the finishing touches: the buttons. What I loved about the original dress were these special buttons. They are such a focal point and it was definitely a make-it or break-it component. So this was why my project laid unfinished for over 6 months.
I looked all over New York City to find the perfect buttons. I was hoping to find something similar: a patterned button with 1 color and a see-through component, also in hopefully 4 different color options. Not too much to ask for, right?
Boy did I learn my lesson... after looking at my go-to places like Pacific Trimming, Botani, Sil, B&Q... basically everything on 38th Street, I was losing hope. On June 28th I put out a call for help on Instagram. A user recommended I look at Tender Buttons located on the Upper East Side. I found several good options there:
The problem I kept coming across was that the buttons were too small, or there weren't enough color varieties. Ultimately I just couldn't find what I was looking for. So I even looked on the internet. Eventually I ordered clear buttons from a distributor in China and decided I would draw on them. But those buttons already had a coating on them and I wasn't able to find any medium that would stick to them. I kept running into the same problems.
So after months of searching I had decided the only thing left to do was to make my own. That's when I looked into how to make buttons. I needed to make a button that was at least 1" in diameter and came in one color with multiple color options, and ideally had a transparent component. That's how I came across Shrinky Dinks:
Using Shrinky Dinks I was able to draw whatever I wanted and make it the size I wanted. With such unlimited possibilities I didn't know what to do. I experimented with a stained-glass look. By using washi tape, I was able to create straight lines and fill in the gaps with my Sharpie markers.
Doing one color wasn't the most stunning, and even doing multiple colors was just ok. I decided to change up my drawing and use my recently-created logo:
After drawing and baking the Shrinky Dink plastic I had my own custom logo buttons.
Scroll down to see how the dress turned out and let me know what you think of the final result:


Comments